
Last updated: November 2026
My first gallery wall looked like frames had fallen off a truck and stuck to the wall. I know. I hung nine frames by eye, no measuring, and the result was a crooked mess I stared at for six months.
This guide to gallery wall layout ideas gives you 17 templates with exact frame sizes, gaps, and footprints — plus real prices, a hanging method, and the mistakes to skip. Pick one layout, measure twice, and hang it today.
Definition: Gallery wall layout ideas are planned arrangements of framed art and photos on a single wall — grids, rows, salon clusters, and ledges — picked by wall size, frame size, and spacing so the whole group reads as one finished piece instead of random frames on a wall.
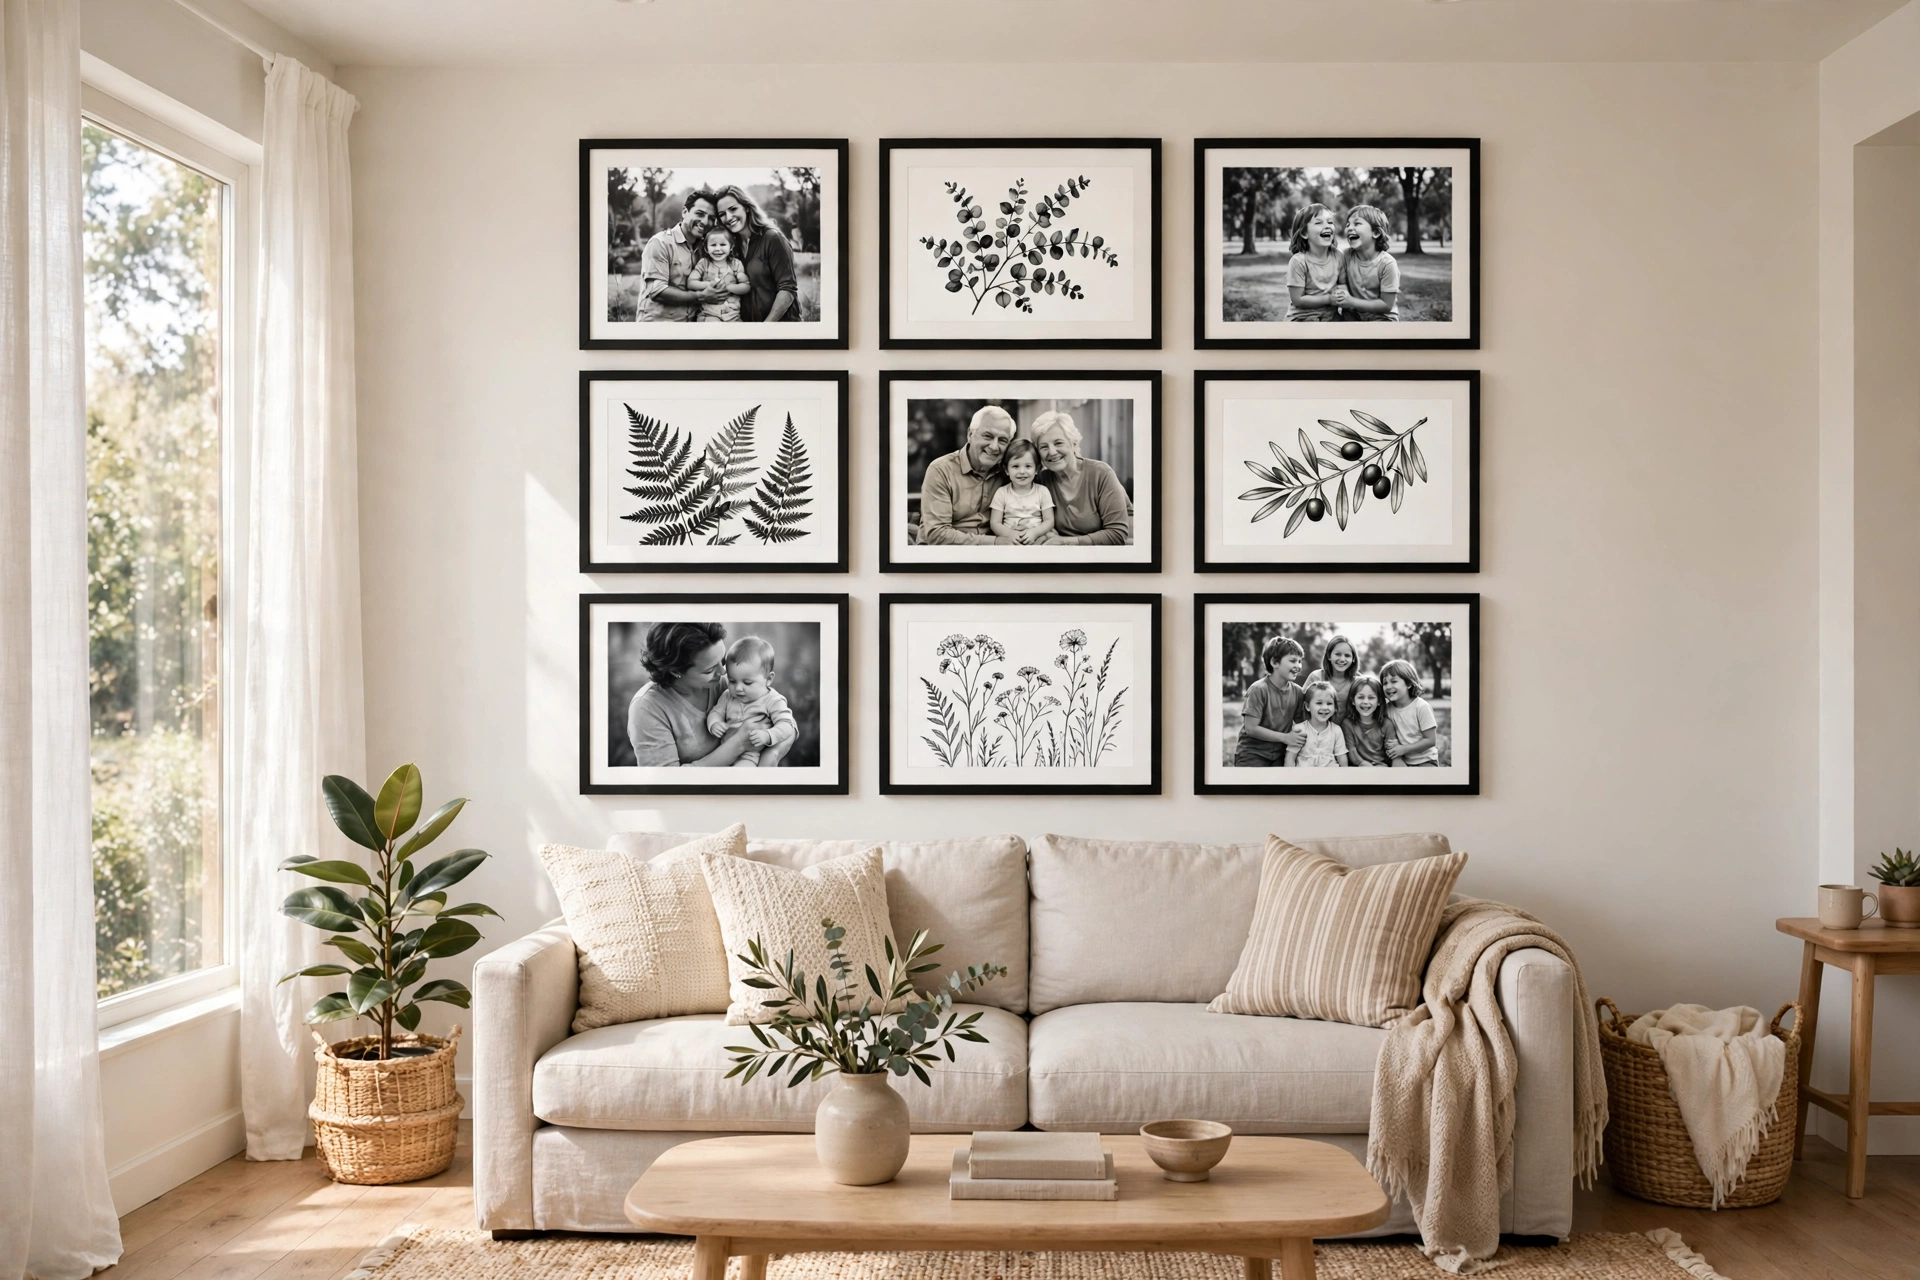
What Gallery Wall Layout Ideas Really Mean
According to Modern Memory Design’s 2026 guide, the 57-inch rule is the professional gallery standard: the centre of your art sits 57 inches from the floor. For a gallery wall, that rule applies to the whole group, not each frame. Centre the group at 57 inches.
According to WallPixPro’s 2026 guide, a gallery wall works when you treat the whole group as one large picture. Measure the full footprint first, then place the group’s centre at 57 inches. That single move fixes most crooked-looking walls, because the eye reads the group as one unit.
That’s the whole point of gallery wall layout ideas: the group matters more than any single frame. You don’t need more frames. You need a plan.
So why do most gallery walls look off? Two reasons: frames hung too high, and gaps that change frame to frame. Fix both, and a $25 wall starts looking like a $250 wall.
Here’s the part that surprises people: fewer, bigger frames look richer than twelve tiny ones. A 3×3 grid beats a scatter of twenty 4×6 prints every time — and costs less, because nine frames need nine prints, not twenty.
One caveat from framers: glass glare kills a wall faster than bad spacing. If your wall faces a window, use matte prints or non-glare acrylic.
Some designers skip the 57-inch rule in dining rooms and centre art at seated eye level, around 48 to 52 inches. I use 57 inches for living rooms and hallways, and the lower centre for rooms where everyone sits.
Gallery walls work best on one clear wall with a sofa, bed, or console below. They won’t help a wall already crowded with a TV and shelves.
One scope note: this guide covers framed prints and photos on drywall — not heavy mirrors, TVs, or plaster walls, which need different anchors.
I got this wrong the first time: my first grid went up by eye, and one frame sat an inch higher than the rest. I saw it every day for six months.
Measure first. Hang second. (No nails yet. Just paper.)
The 2 Rules Before You Hang Anything
Two rules decide whether gallery wall layout ideas look designed or accidental.
How high should a gallery wall hang? Centre the whole arrangement at 57 inches from the floor, keep 2 to 3 inches between frames, and leave 6 to 8 inches above the sofa back. Size the group to about two-thirds of the sofa’s width. Those four numbers cover most living-room walls.
Rule 1 — Height: centre the group at 57 inches. Measure 57 inches up from the floor and mark it — that’s the middle of the whole group, not of each frame. Above a sofa, the bottom frame lands 6 to 8 inches above the cushions, and the group spans about two-thirds of the sofa’s width.
Rule 2 — Spacing: 2 to 3 inches, every single gap. Pick one gap — I use 2 inches — and use it everywhere. Uneven gaps are the number-one reason a wall looks homemade — a 2-inch cardboard spacer keeps every gap honest.
Grids vs. salon walls: grids look calm and suit one frame size repeated, while salon walls look collected and suit mixed sizes and thrifted frames. Grids forgive nothing — one crooked frame shows. Salon walls forgive almost everything. Pick a grid for a first wall, and a salon wall once you’ve hung one grid without swearing.
Here’s where I disagree with most guides: they insist every frame must match. Wrong. Matching frames are the safe choice, not the best one. Mixed frames in one colour family look collected and cost less — a $1.25 Dollar Tree frame next to one good IKEA frame, and nobody can tell.
Every one of these gallery wall layout ideas uses the same two rules. Height and spacing.
17 Gallery Wall Layout Ideas With Exact Measurements
Seventeen gallery wall layout ideas sounds like a lot. It’s not — most are the same four moves rearranged. Each lists frame sizes, gap, and footprint.
Grids
1. Classic 3×3 grid. Nine 12×12 frames, 2-inch gaps, 40 × 40 inches total. Best above a sofa. Nine Dollar Tree frames cost $11.25.
2. Portrait 2×4 grid. Eight 8×10 frames, two across, four down, 2-inch gaps: 18 × 46 inches. Best beside a door or window.
3. Mini 4×4 grid. Sixteen 8×8 frames, 2-inch gaps, 38 inches square. Best for square prints.
4. Anchor grid. One 16×20 centre, eight 8×10 around it, 2-inch gaps: about 36 × 22 inches. Best when one photo deserves the spotlight.
Lines
5. Single horizontal row. Five 8×10 frames in a line, 2-inch gaps, 48 × 10 inches. Best above a long console — see our console table decor ideas.
6. Vertical column. Four 11×14 frames stacked, 2-inch gaps, 11 × 62 inches. Best for the skinny wall by a window.
7. Ledge row. Two 45-inch MOSSLANDA ledges, one above the other, frames leaned, not hung. Best for seasonal swappers.
Salon Walls
8. Salon cluster around one anchor. One 18×24 anchor, six to eight mixed frames, 2- to 3-inch gaps: about 48 × 36 inches. Best for big blank walls.
9. Organic scatter. Seven to nine mixed sizes — 5×7, 8×10, 11×14 — no straight edge, 2- to 3-inch gaps: about 50 × 40 inches. Best for thrifted frames.
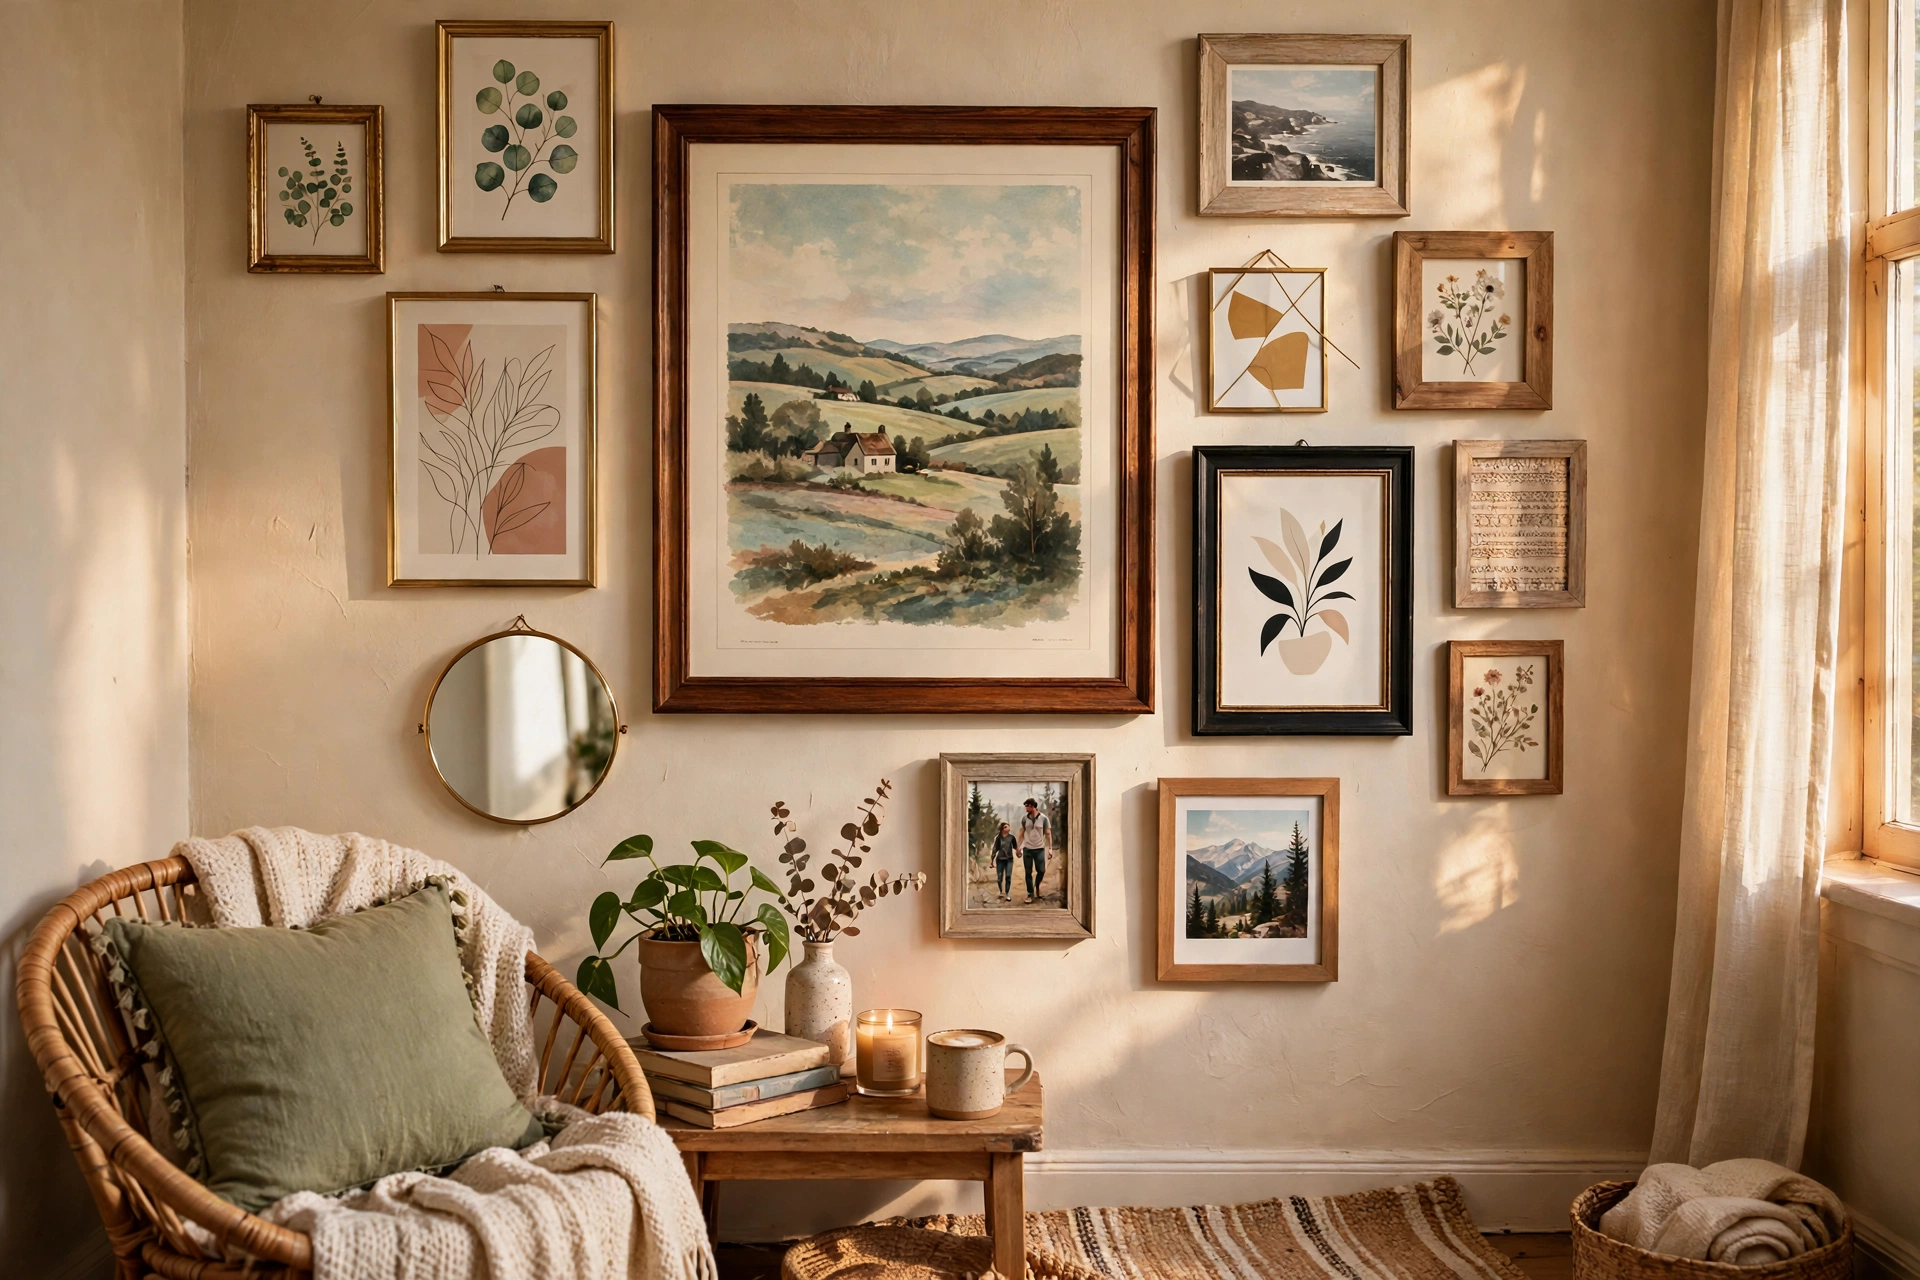
10. Mixed media wall. Six frames plus one round mirror or woven basket, 2- to 3-inch gaps, about 44 × 36 inches. Best for texture lovers.
Staircase & Hallway
11. Staircase diagonal. Five to seven mixed frames stepping up with the stairs, 2- to 3-inch gaps. Best for stairwells.
12. Hallway double row. Two rows of 5×7 frames, four to five per row, 2-inch gaps: about 48 × 16 inches. Best for hallways.
Small Spaces
13. Desk mini grid. Four 8×10 frames in a 2×2 grid, 2-inch gaps, 18 × 22 inches. Best above a desk.
14. Above-bed trio. Three 11×14 frames in a row, 2-inch gaps, 37 × 14 inches. Best above a queen bed.
15. Entryway stack. Three 8×10 frames stacked vertically, 2-inch gaps, 8 × 34 inches. Best beside the front door.
Renter-Friendly
16. Lean-on-console wall. Three to five frames leaned on a console, tallest at the back. Zero holes. Best for renters — leaning counts.
17. Command-strip wall. Six to eight light frames on picture-hanging strips only. Two strips per frame. Best for dorms and rentals.
Exact Frame Sizes & Measurements Table
Use this table to check any of the gallery wall layout ideas above against your wall. Every row lists frames, gap, total size, and best wall.
| Layout | Frames | Gap | Total Size | Best Wall |
|---|---|---|---|---|
| Classic 3×3 grid | Nine 12×12 | 2 in | 40 × 40 in | Above a sofa |
| Portrait 2×4 grid | Eight 8×10 | 2 in | 18 × 46 in | Narrow wall by a door |
| Anchor grid | One 16×20 + eight 8×10 | 2 in | 36 × 22 in | One hero photo |
| Single horizontal row | Five 8×10 | 2 in | 48 × 10 in | Above a console or bed |
| Salon cluster | One 18×24 + 6–8 mixed | 2–3 in | 48 × 36 in | Big blank living-room wall |
| Above-bed trio | Three 11×14 | 2 in | 37 × 14 in | Above a queen bed |
Two numbers run this table. The 57-inch centre. The 2-inch gap.
If your wall is wider than six feet, one of these gallery wall layout ideas alone will look lost — pair two layouts, or read our large wall decor ideas on a budget.
How to Hang It: The Paper Template Method
Trace, tape, step back, then hammer. This method works for every one of the gallery wall layout ideas above, and it costs about $5 in kraft paper and painter’s tape.
1. Trace each frame on kraft paper and cut it out. 2. Tape the shapes to the wall. 3. Mark the nail spot through the paper. 4. Step back, check the spacing, move any shape that looks off. 5. Hammer one nail per mark, tear the paper away, hang the frames.
Lay all your frames face-down on the floor, 2-inch gaps between them. Trace each frame onto kraft paper, cut the shapes out, and write the size on each one. Tape them to the wall, centre piece first at 57 inches, and work outward.
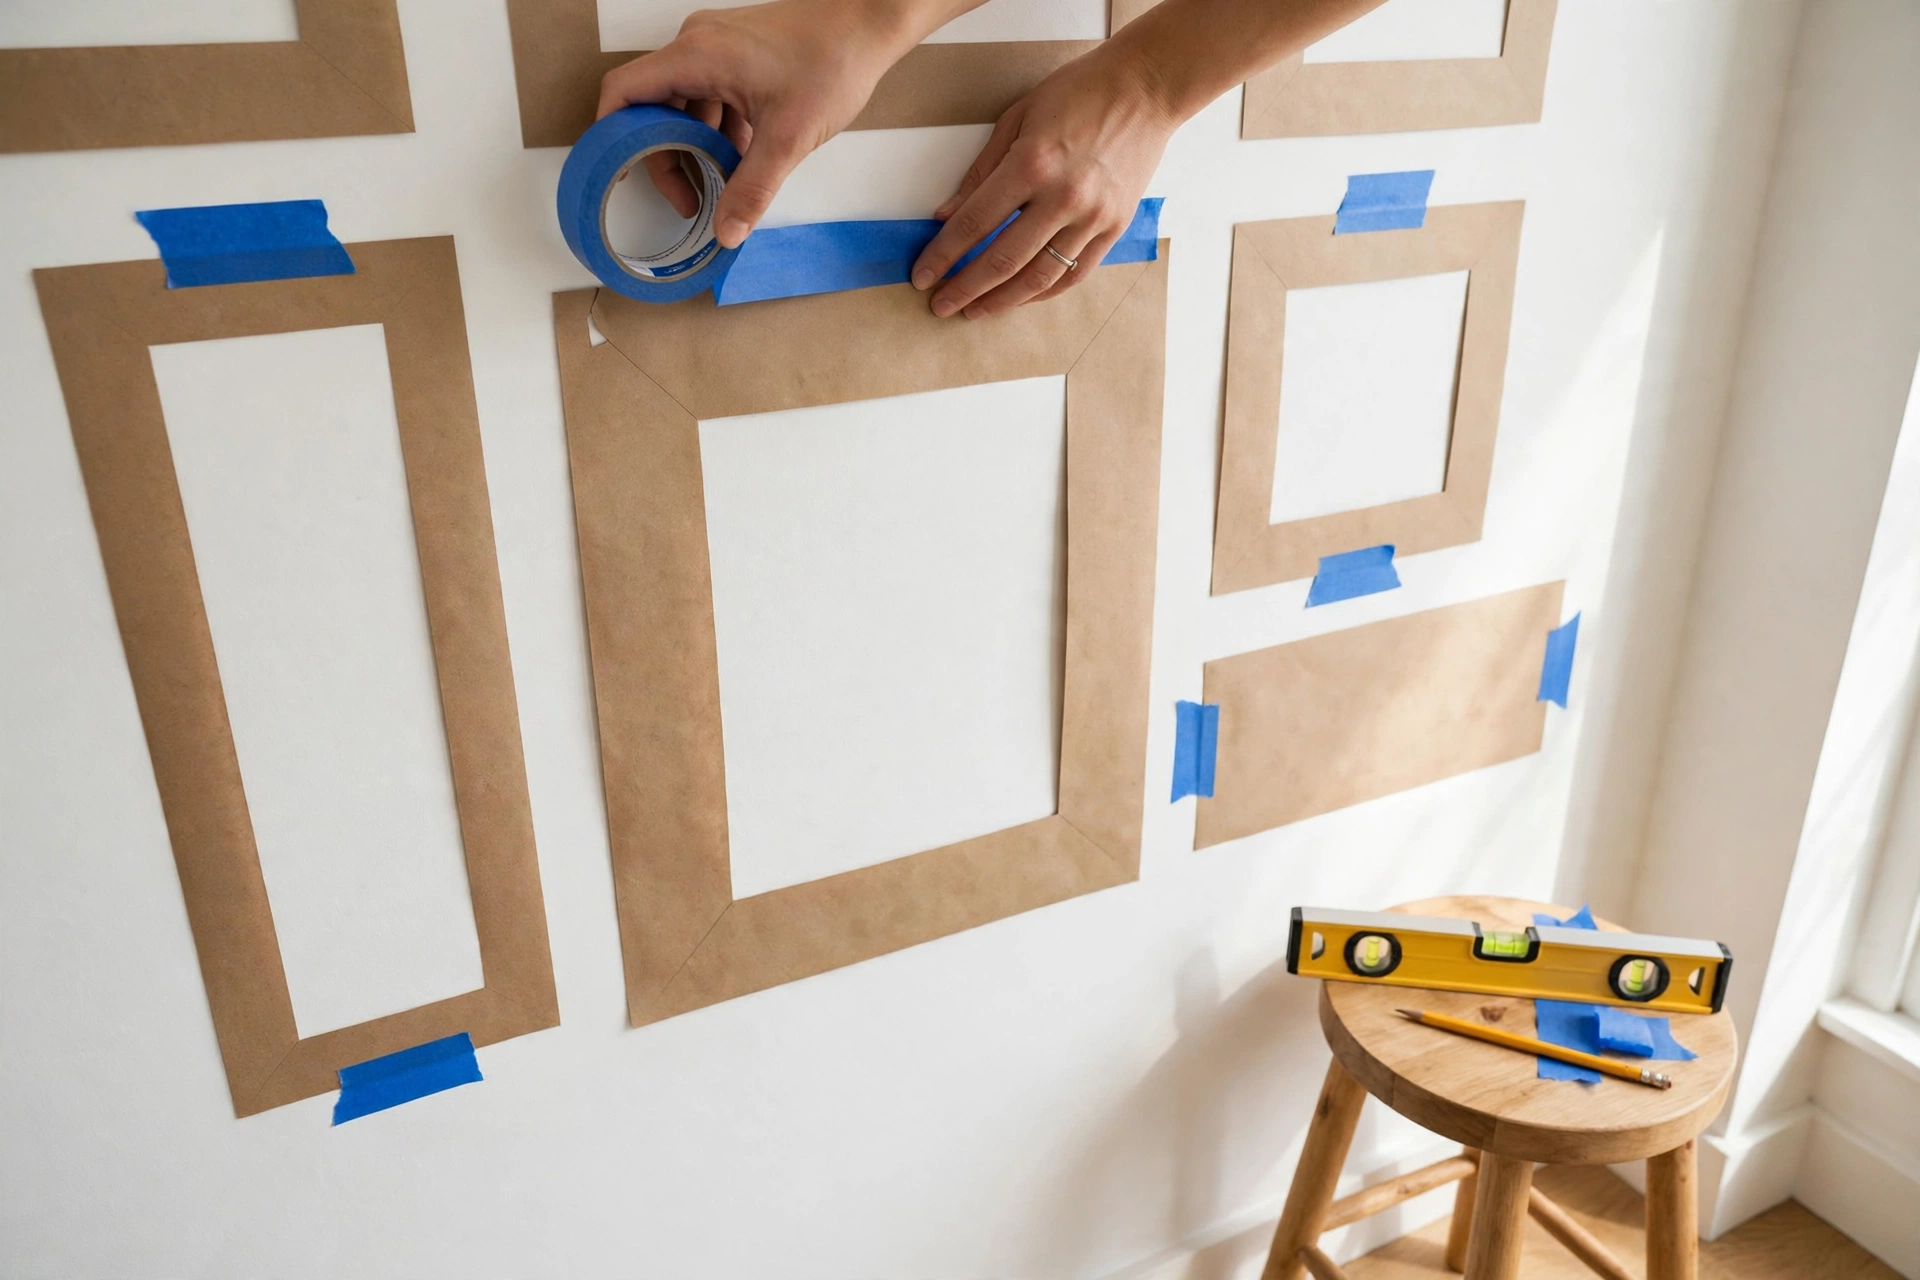
Now the nail math, because this is where people guess and regret it. For each frame, the nail goes at 57 inches plus half the frame height, minus the drop to the hanging hardware. A 12-inch frame with hardware 2 inches below the top puts the nail at 61 inches. Mark it on the paper, not the wall.
Step back. Seriously. Walk across the room and look at the paper shapes for a minute. Move anything that looks off — this is free, and moving a nail later is not.
What It Costs: 3 Budget Tiers
Every budget below builds one of the gallery wall layout ideas above — frames, prints, and hardware included. Start with the under-$25 tier: it proves the layout works before you spend more.
| Tier | Frames | Prints | Hardware | Total |
|---|---|---|---|---|
| Under $25 | 9 Dollar Tree frames at $1.25 | 9 prints at home or drugstore, about $4 | Painter’s tape + kraft paper, about $5 | About $20 |
| About $75 | SONGMICS 10-pack, $21.99 on sale ($33.99 list) | 10 prints, about $5 | Nails, anchors, level, about $12; one MOSSLANDA ledge, around $10–$15 | About $55–$75 |
| About $150 | Mixed IKEA RIBBA frames, around $5–$15 each × 8 | 8 larger prints, about $12 | Two ledges, strips, anchors, about $30 | About $130–$150 |
Where the money actually goes: frames first, prints second, hardware last. Dollar Tree frames run $1.25 each — grab the Special Moments 5×7. The SONGMICS 10-pack lists at $33.99 and regularly sells around $21.99 (two 8×10, four 5×7, four 4×6). The JOINDATAT 10-pack is $27.99, and the Americanflat 10-piece set at Target is $24.99.
IKEA’s RIBBA frames run around $5 to $15 each by size, and the MOSSLANDA ledge runs around $10 to $15 for the 45-inch length — the old RIBBA ledge is discontinued, and MOSSLANDA replaced it. Prints cost almost nothing: 4×6 prints run around 25 to 50 cents at a drugstore.
Prices checked November 2026. Check the shelf first.
My honest take: skip the $40 single frame. Buy ten cheap frames and one good print instead — the print is what people look at.
9 Mistakes That Ruin Gallery Walls
Most bad gallery wall layout ideas fail on the same nine points.
1. Hanging too high. Eye level is 57 inches to the centre, not 65 to the top — high art floats away from the furniture.
2. Uneven gaps. A 2-inch gap next to a 4-inch gap reads as a mistake — cut a cardboard spacer and use it every time.
3. Frames too small for the wall. Four 5×7 frames on a six-foot wall look lost — size the group to two-thirds of the furniture below.
4. Too many tiny frames. Twenty small frames take twenty nails, twenty prints, twenty decisions — and the wall still looks busy. Fewer, bigger frames.
5. Too many frame colours. Cap it at two or three colours: black plus wood plus white works, but add gold and silver and it looks like a clearance bin.
6. No anchor piece. Every wall needs one anchor — the biggest frame, the boldest print — or the eye wanders.
7. Hanging without a level. A frame off by half an inch is visible from the sofa, and a small level costs a few dollars.
8. Forgetting the sofa gap. More than 8 inches above the sofa and the art floats; less than 6 and heads hit it.
9. Buying frames before measuring. The wall decides the layout, not the sale bin — measure first, then buy the frames that fit.
Renter-Friendly Gallery Walls: No Drills, No Deposit Drama
Renter-friendly gallery wall layout ideas skip nails entirely, and they still look like real gallery walls.
Picture-hanging strips are the workhorse. Use two strips per frame, press each one for a full 30 seconds, and wait an hour before hanging anything heavy. Check the weight rating on the pack first — a light 8×10 is fine, a big glass 11×14 is not.
Leaning is the zero-risk option. Three to five frames on a console table, tallest at the back, overlapping slightly, reads as intentional and costs nothing in hardware. Washi tape works for unframed prints, and binder clips on a string give you a rotating display.
When you move out, pull the strip tab straight down along the wall — slowly, don’t yank it toward you. That keeps the paint on the wall and the deposit in your pocket. For more no-drill ideas, see our renter-friendly decor ideas.
Quick Comparison: Pick Your Layout in 30 Seconds
Not sure which of these gallery wall layout ideas fits your wall? Start with the wall size. Pick one row.
| Option | Best For | Key Benefit | Limitation |
|---|---|---|---|
| Classic 3×3 grid | First-timers, above a sofa | Symmetrical and calm; cheapest to build | Needs a square wall; shows every crooked frame |
| Salon cluster | Big blank walls, thrifted frames | Forgiving gaps; looks collected | Needs an anchor piece or it looks random |
| Single horizontal row | Long low consoles, above a bed | Fastest to hang; hard to mess up | Too narrow for a tall empty wall |
| Ledge row | People who swap art often | Rearrange in seconds; no new holes | Ledges need screws; frames can slide |
| Staircase diagonal | Stairwells and hallways | Uses a wall nothing else fits | Tricky measuring; ladder required |
| Command-strip wall | Renters and dorms | Zero holes; fully removable | Light frames only; check weight ratings |
Gallery Wall Questions, Answered
How high should I hang a gallery wall? Centre the whole group at 57 inches from the floor — average eye level and the standard galleries use. Above a sofa, leave 6 to 8 inches between the cushions and the bottom frame.
How far apart should frames be on a gallery wall? Keep 2 to 3 inches between every frame, and use the same gap everywhere. Two inches is my default: tight enough to read as one piece.
How big should a gallery wall be above a sofa? Size the group to about two-thirds of the sofa’s width: an 84-inch sofa wants a group around 56 inches wide, and a 72-inch loveseat wants one around 48 inches. Wider looks wrong, and narrower than half looks lost.
Can I hang a gallery wall without nails? Yes. Picture-hanging strips hold light frames with no holes at all, and leaning frames on a console needs no hardware either. Check the weight rating first, use two strips per frame, and skip glass-fronted frames over 11×14.
What are the best gallery wall layout ideas for a small living room? A 3×3 grid of 12-inch frames, a single row of five 8×10 frames, or a desk mini grid of four 8×10 frames all fit small walls. Pick one about two-thirds of your sofa, keep the gaps, and stop at nine frames.
The Takeaway
Pick one of these gallery wall layout ideas tonight, measure your wall tomorrow morning, and hang it tomorrow afternoon.
Start with the 3×3 grid if you want something safe. Or pick the salon cluster if you want personality. Either way, centre the group at 57 inches, keep the gaps at 2 inches, and spend your money on one good print instead of ten fancy frames.
Once the wall is up, the room around it matters too — pair it with our boho living room decor on a budget, or fold it into a full living room makeover on a budget. The wall is done. Go enjoy it.